These are the raw materials that I used to build this suit. I started with plastic FOR SALE signs that i purchased from Wal-Mart.
Here I used red metallic spray paint. It took about 10 to 15 layers in order to get that deep dark luster of red that you will see in the final stages of the suit.
This little section here is one of the most important parts of the suit. It is the crotch armor that comes off and opens up for my ability to use the restroom at any time!
This is a full shot of the groin armor. All of the armor plating is held on by velcro so it can be adjusted, removed or replaced if necessary
The gold pieces here are for the spine guard and under accents for the stomach armor.
This is what i wore beneath the suit to fill it out a bit and give it some real structure
This is the body armor that was worn beneath the suit as well for added structure. It was needed to help support the chest plate.
This is the 1st and 2nd coat of spray paint used for armor plating.
This is what was used for the base of the spine guard.
Here is a shot of just the base layer body armor.
Stage 1 of the spine guard.
Stage 2 of the spine guard
Stage three of the spine guard. Originally this is where i was going to stop. I took a few hours to contemplate what i could do to get rid of the white and this is what I came up with....
I made gold links to line the actual spine plating.
Nearly in its final stages!
One last shot before the final stage!
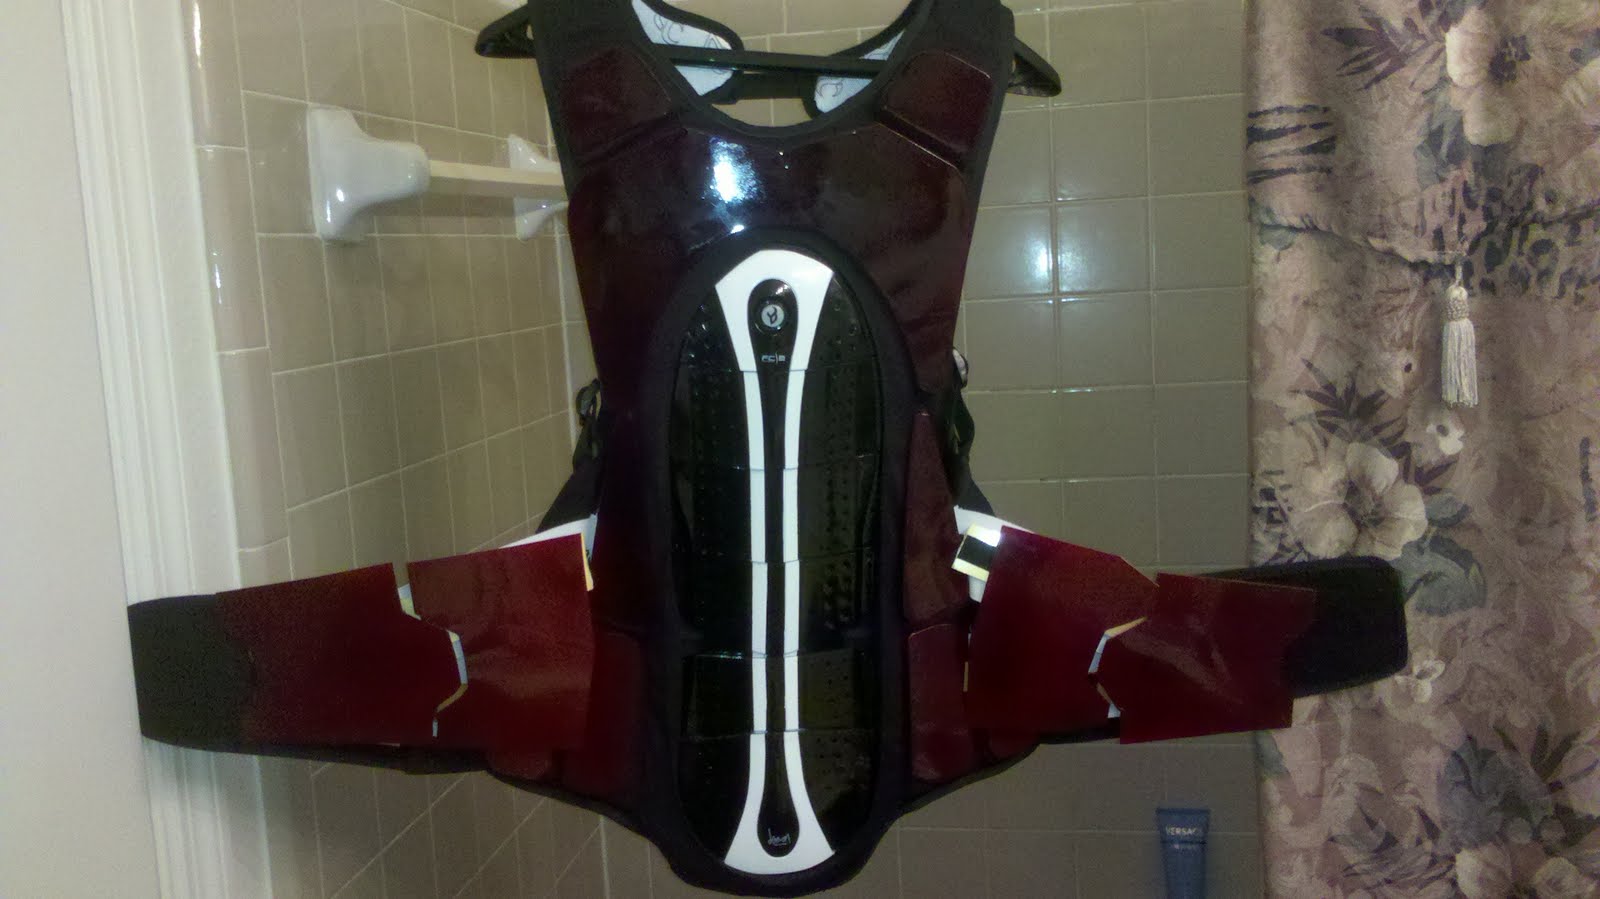
Folks, here you have it! The final stage of the spine guard.
The two lower pieces that look like wings actually wrap around the stomach to create the rest of the frontal armor plating.
This is the cloth layer Iron Man suit that will cover all of the body armor.
In this photo you are seeing the actual armor plating for the chest, shoulders, legs, and helmet.
Stage 1: Suiting up; under armor.
Stage 2: body armor
Stage 3: One piece Iron Man suit.
Stage 4: Piecing on the armor plating; it took two people to do this.
Stage 5: Nearly finished: I just had to put the stomach pieces on to seal the deal!
Final Stage: Front view 1
Rear View 1
Front View 2
Rear View 2


 .
.


No comments:
Post a Comment